Azure Infrastructure: Network infrastructure in a new Subscription
Step 1: Request IP Space:
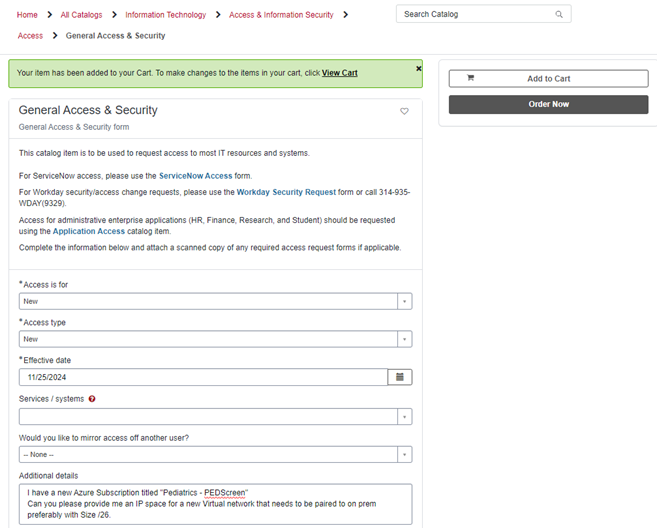
To request IP space, a service now ticket is needed.
Using the link servicenow , you can open a General Access & Security request.
Filling the form should look like the screenshot below:
ServiceNow
(enlarged image)
In the ServiceNow form, I requested an IP space with size of /26 – approximately 60+ IP addresses.
Feel free to customize the IP space to your individual need, they typically range between /16, /24, /26.
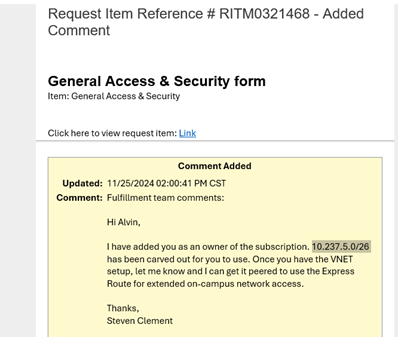
Once the IP Address has been provided, a member of WUIT will reach out directly with the IP space.
The email will typically be as follow:
IP space Provision
(enlarged image)
Step 2: Create an Azure Virtual Network on subscription
To create a new virtual network search vnet or virtual network on the Azure search bar on the azure console.
The first step is to give the virtual network a name and associate it to a subscription and resource group.
Creating Vnet
(enlarged image)
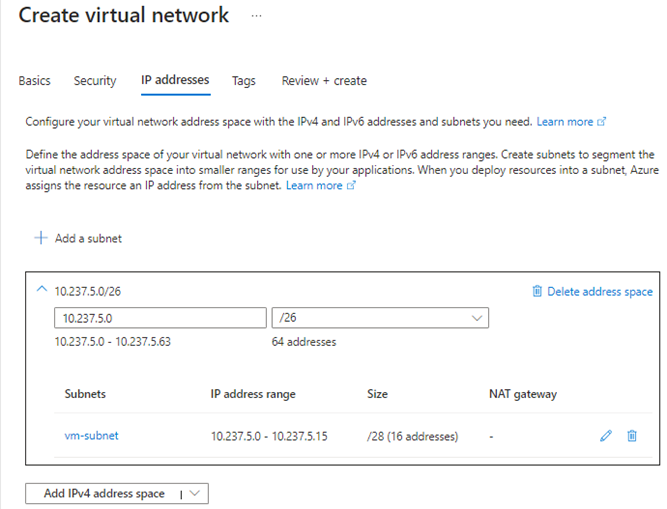
Establish IP space within the created virtual network, furthermore, there’s also an option to create a subnet during the creation process.
Creating Vnet
(enlarged image)
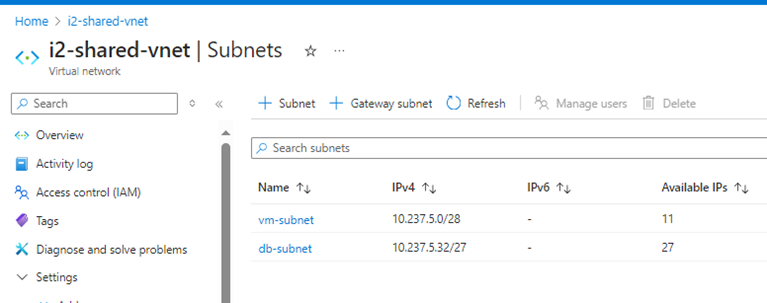
Additionally, you can also create a subnet after the virtual network has been crated.
Post subnet validation
(enlarged image)
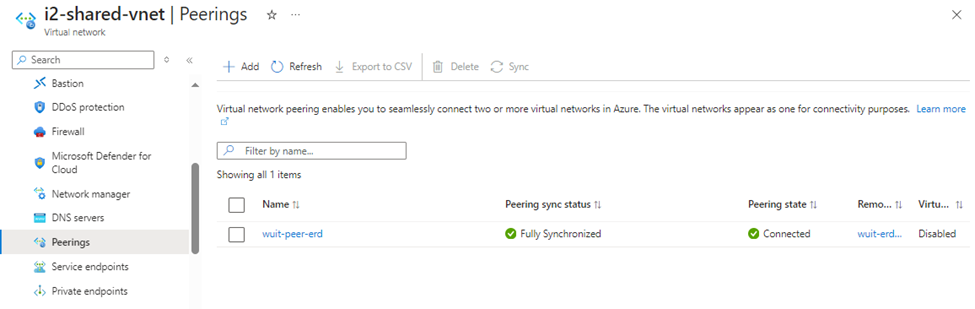
After creating the virtual network with the appropriate IP space, you should reach out back to WUIT either through the ticket or teams to request a virtual network peering.
Once, you received confirmation you should go to Virtual Network > Peerings and the peering should appear.
Peering Validation
(enlarged image)
Updated on August 12, 2025