Azure Infrastructure: Azure Windows VM Disk Size Increase
This document walks through the process of increasing an azure windows virtual machine. This process is required whenever a virtual machine experiences a workload increase needs more storage for its data.
Step 1: Backup Virtual machine
- It is always a good practice to backup the virtual machine before increasing the O.S or Data disk size.
- Azure backup can be used to perform this backup.
Step 2: Stop & deallocate Virtual machine
- After successfully backing up the virtual machine is it required to stop the VM and wait for it to be in the deallocated state before upgrading the disk space. Please see schreenshot.

Step 3: Increase disk size
- As seen below the current disk has a storage size of 128 GB.
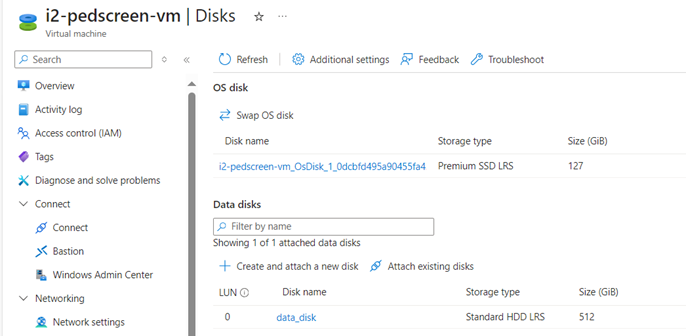
- Next select the disk size, which in this case is 512 GB and upgrade size.

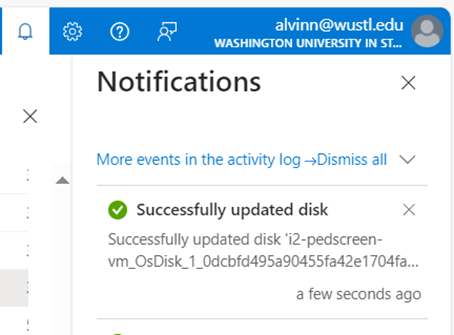
- Once upgrade is complete, you will receive the following notification.
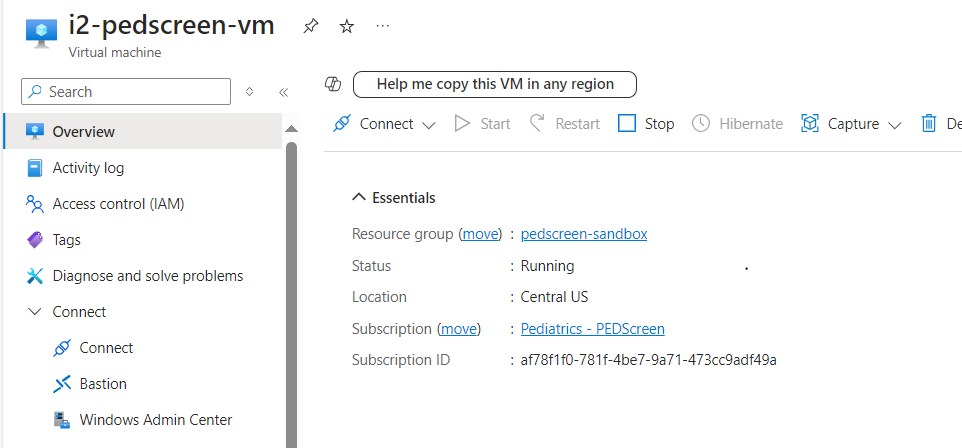
Step 4: Start Virtual machine
- Once the disk size upgrade is completed, you should restart the virtual machine and wait for it to show as running.
Step 5: Log into the Virtual Machine & perform disk extension
- It is important to note that increasing the size disk via azure console is not sufficient to increase the disk on the virtual machine.
- To perform a virtual machine disk upgrade, you must log into the virtual machine.
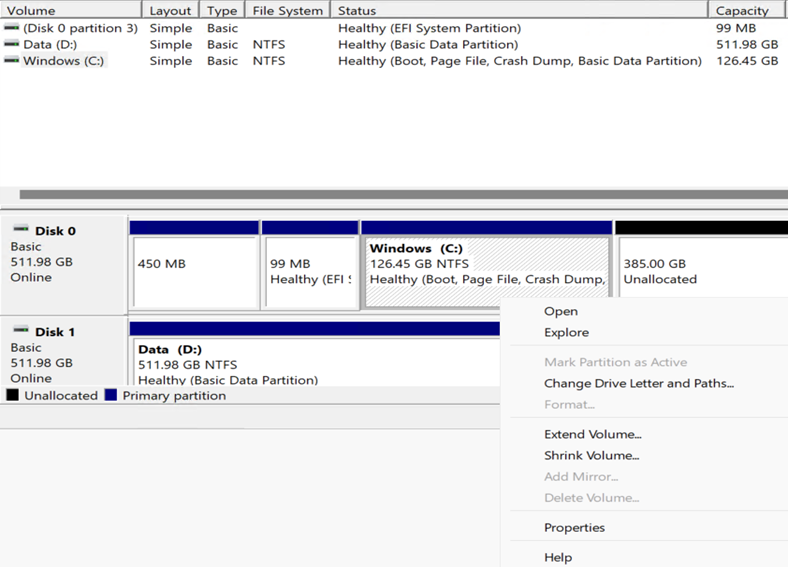
- In the virtual machine, Search for Server Manager > then Tools > Computer Management > Disk management.

- In the disk Management, you will the amount of disk space that is unallocated, the formula is usually desired Size – Current size.
- In this scenario, we have 385.00 GB of unallocated size.
- To extend the size, you have to right click on the disk tab Windows (C:) and select Extend Volume.
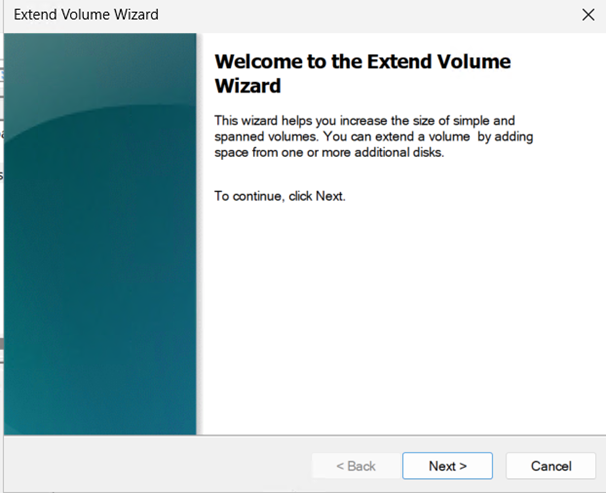
- After clicking Extend volume, the following tab will show, click on Next.
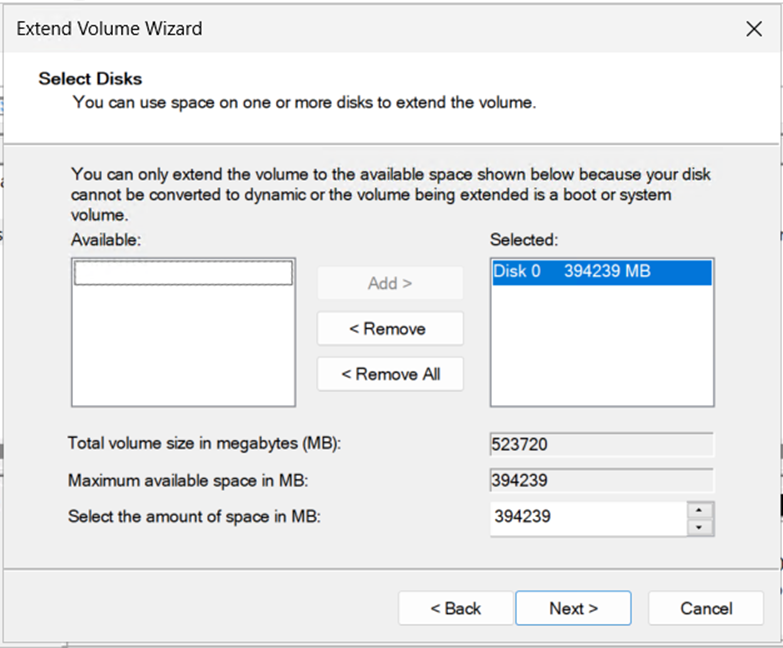
-After clicking on next, it will the desired disk size growth, after confirming, click on Next and finish.
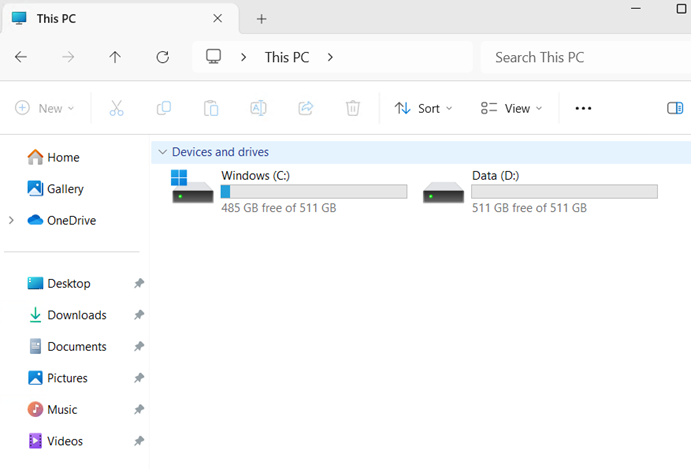
Step 6: Validate disk size increase
- To validate disk size increase, go to File Explorer and look at the the drive.