


How To Add a Table to an Existing Pipeline
This guide provides step-by-step instructions to add a table to an existing pipeline in Databasin. You will learn how to add and configure a table in a pipeline to include the table in the ingestion automation.
Prerequisites
- You should have an active account on databasin.wustl.edu.
- Basic understanding of database connections and parameters.
Steps
- Login to Databasin
- Navigate to databasin.wustl.edu and log in with your credentials.
- Select a Project
- Once logged in, select the project that contains the pipeline you would like to update.
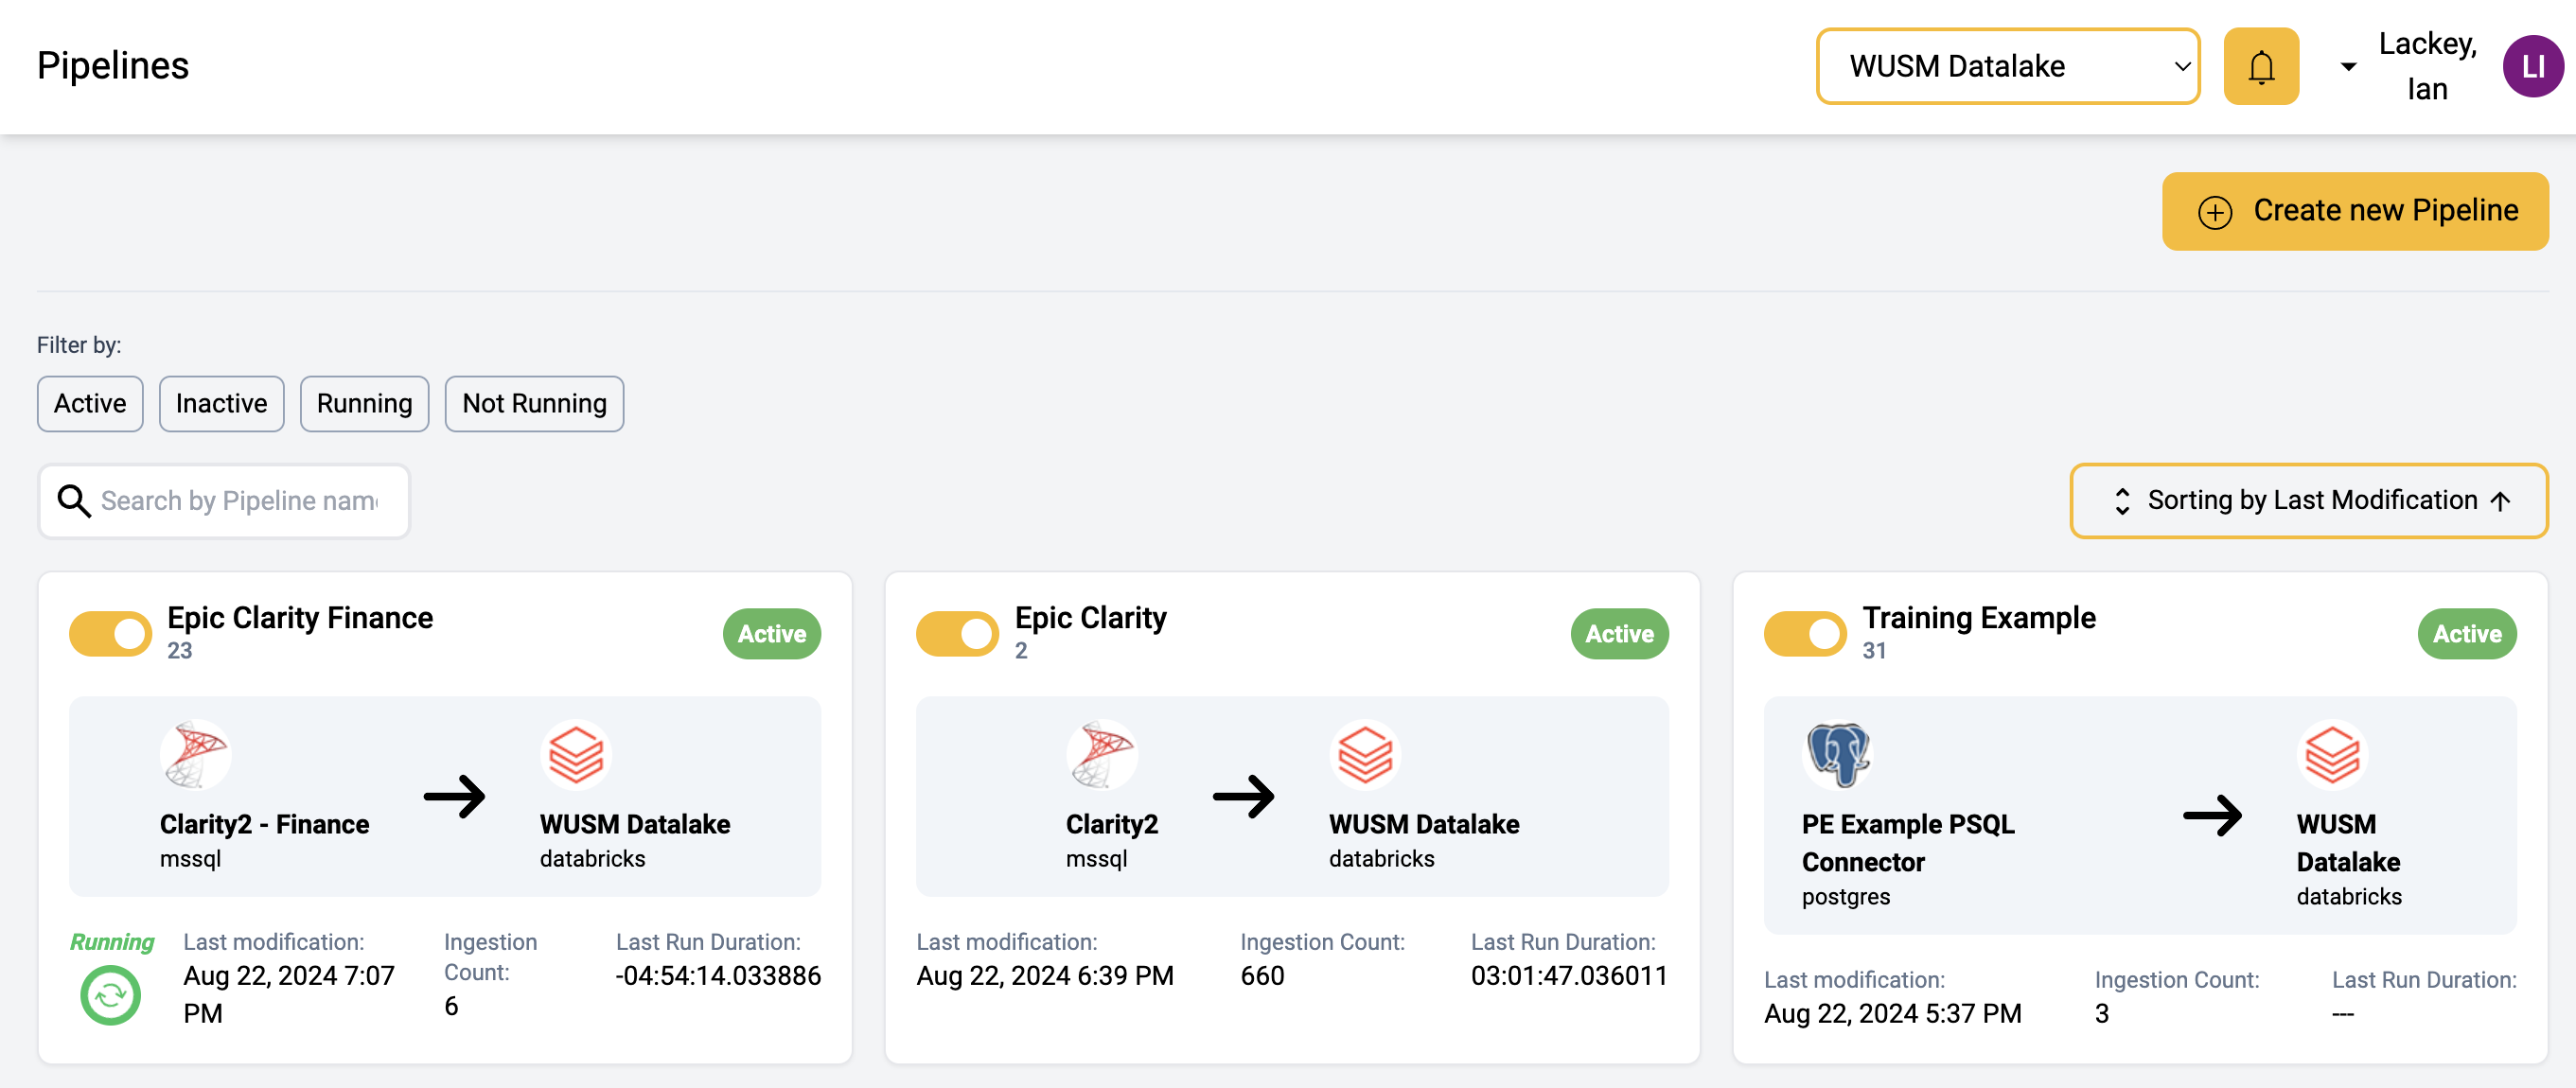
- Navigate to the Pipelines Page
- In your project, go to the
Pipelinespage.
- In your project, go to the
- Open Existing Pipeline
- Find the pipeline in the list. You may use the search and/or filter options to help locate the pipeline.
- Find the pipeline in the list. You may use the search and/or filter options to help locate the pipeline.
- Open Artifact Dialog
- Clicking on the
Add new Artifactbutton will display a dialog to select the tables you would like to include.
- Clicking on the
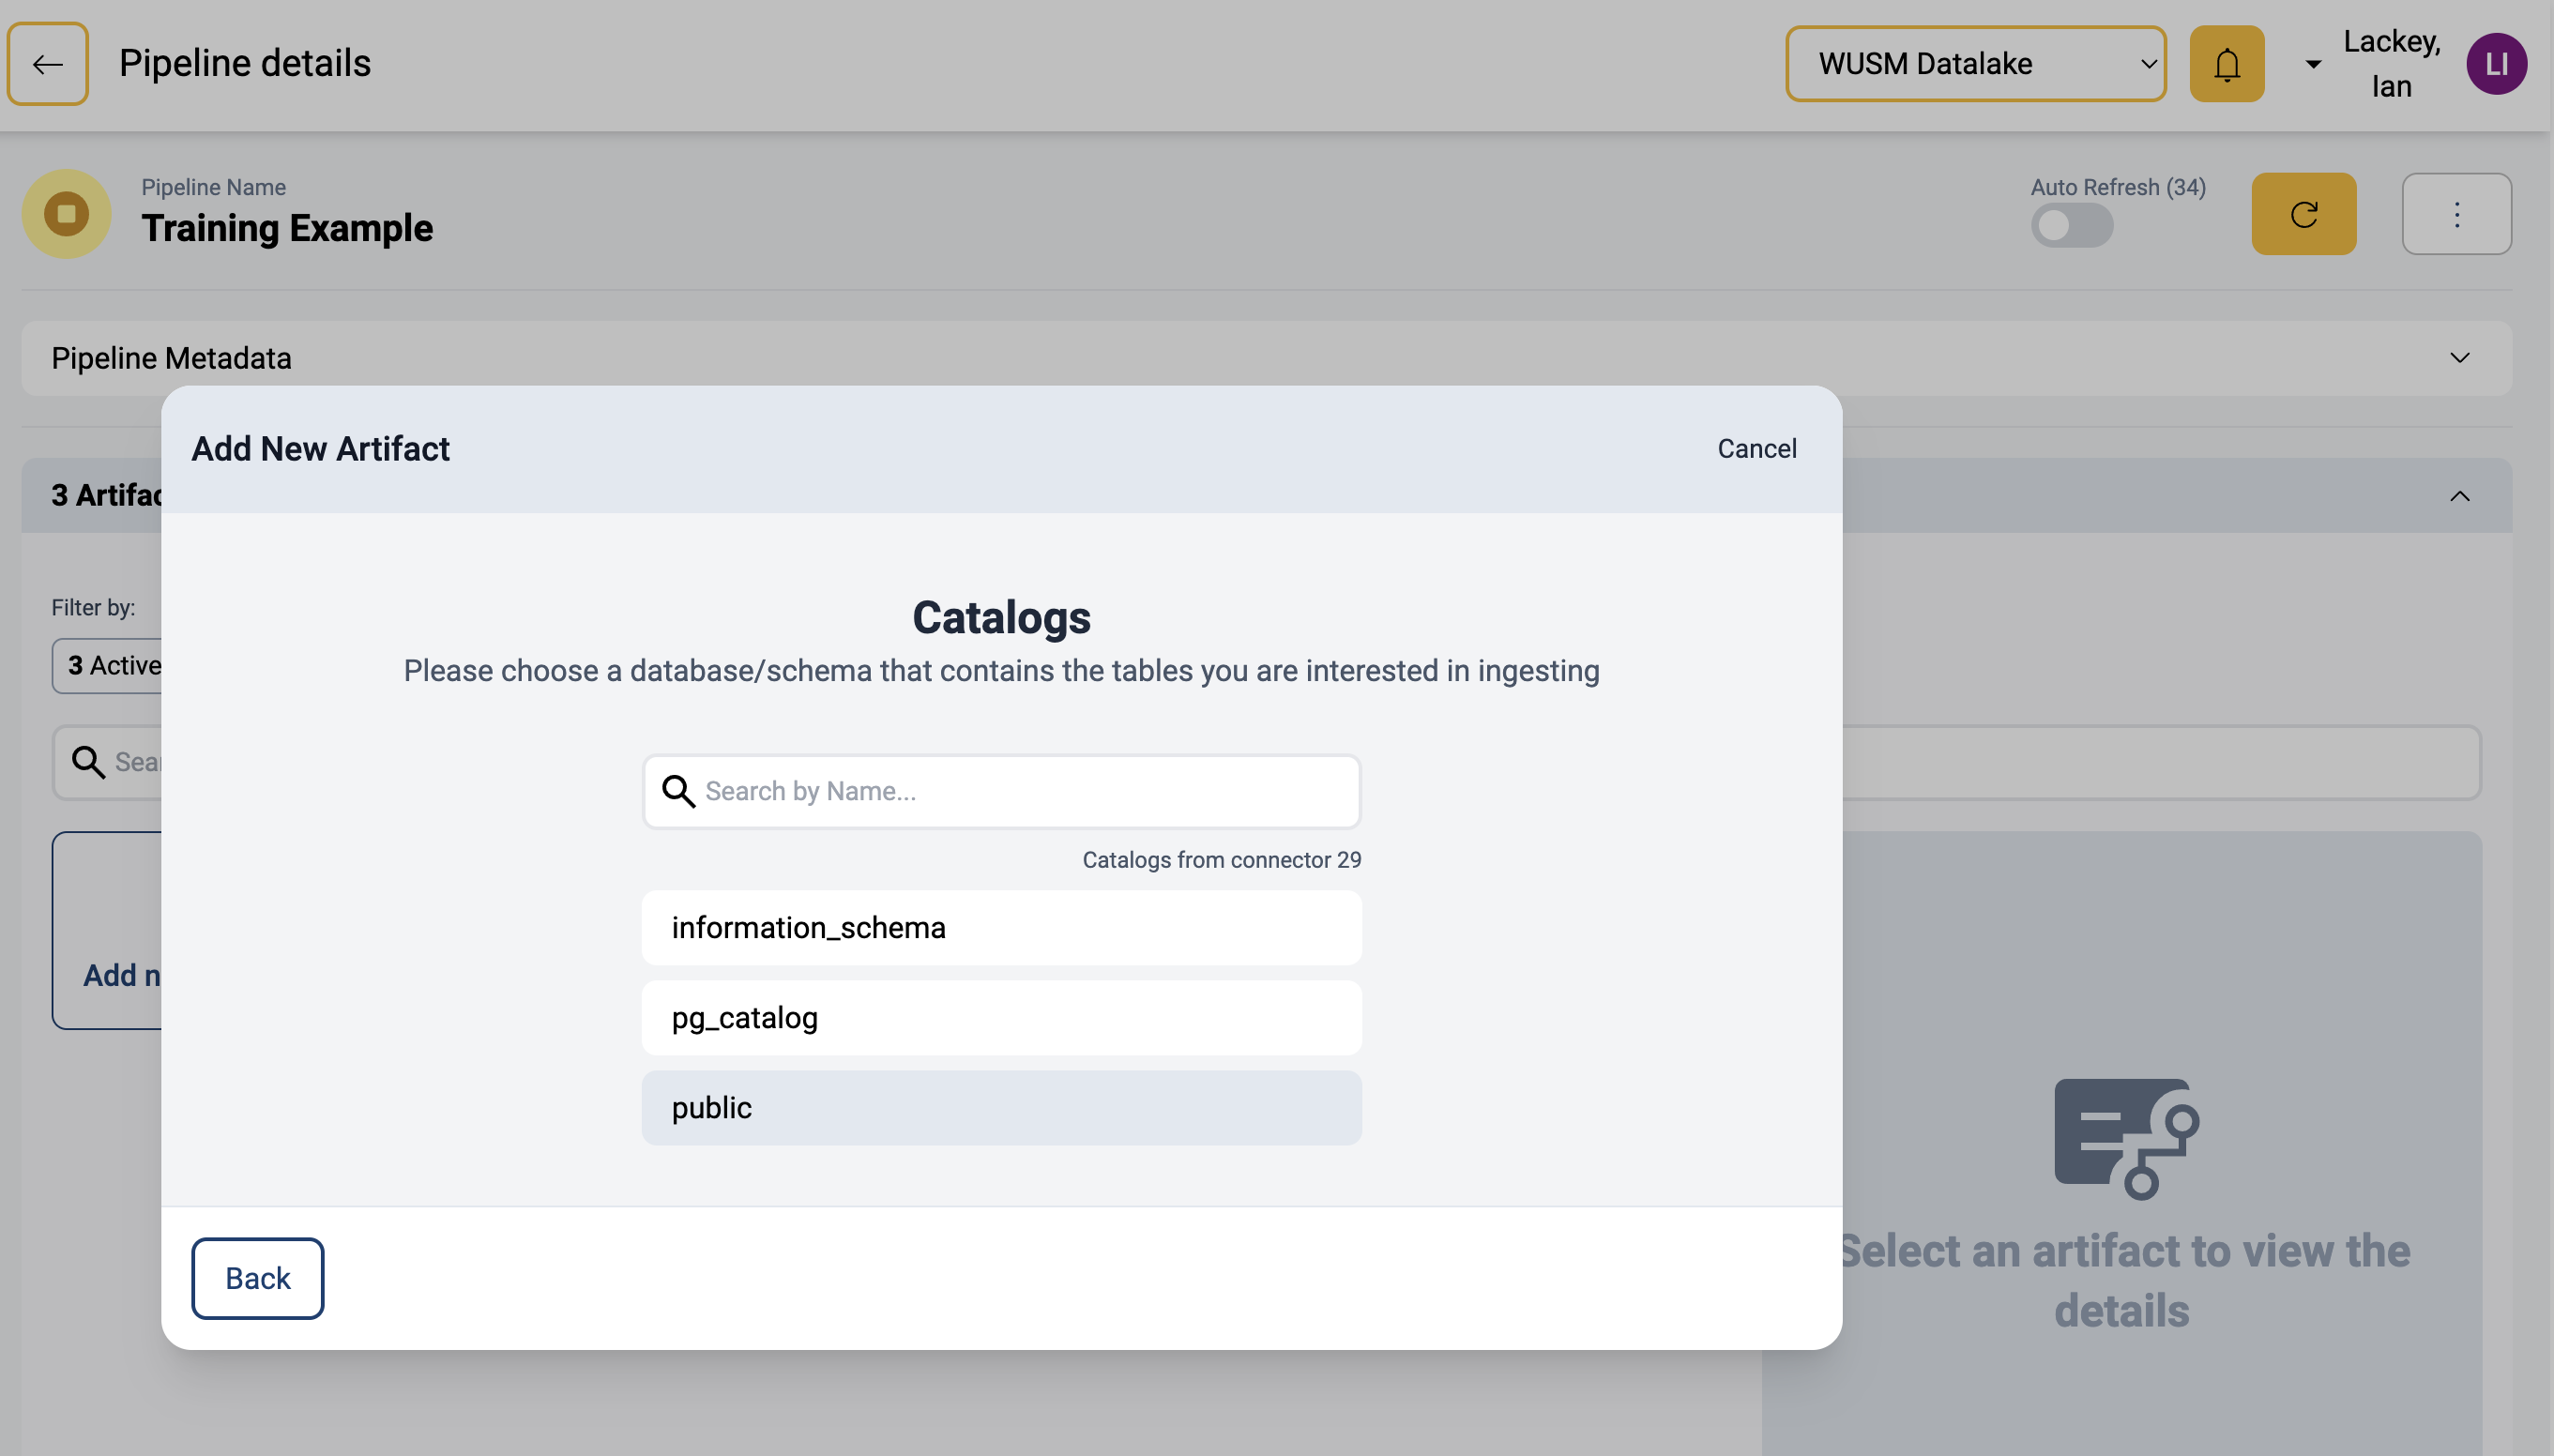
- Select Catalog
- Select the catalog/schema from the list shown in the dialog.
- Select the catalog/schema from the list shown in the dialog.
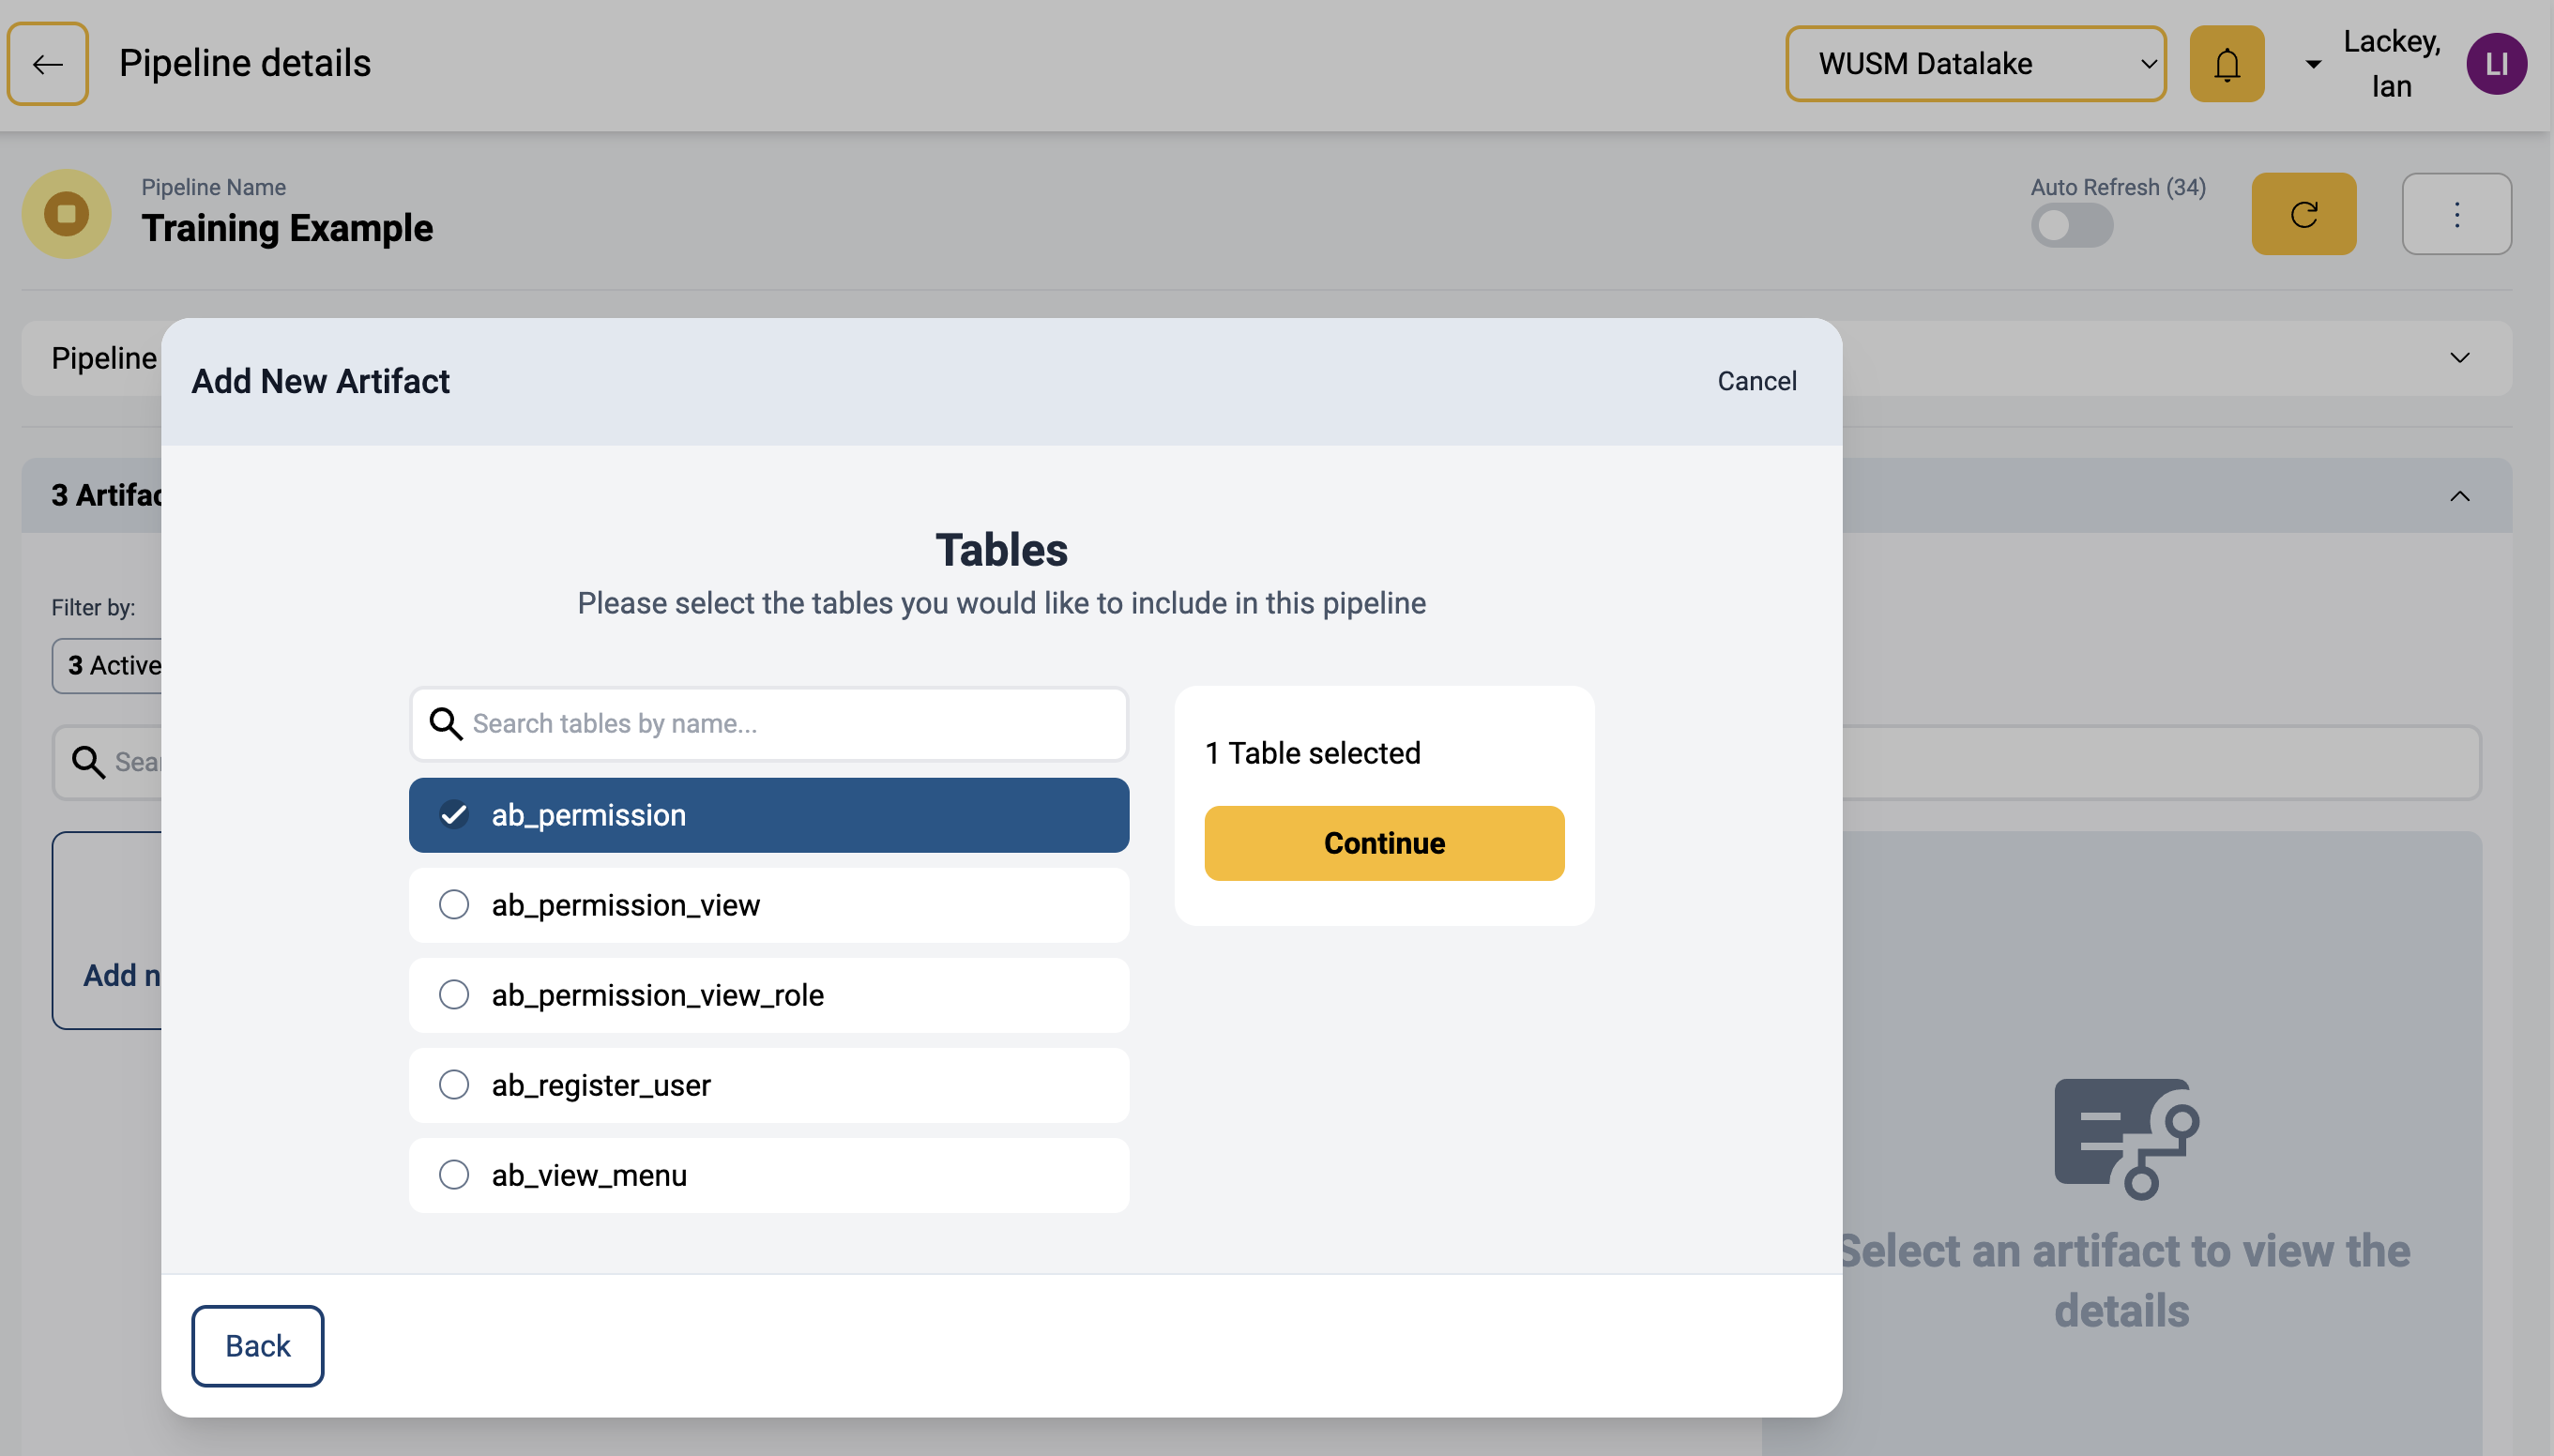
- Select Table(s)
- Select one or more tables show in the list.
- Select one or more tables show in the list.
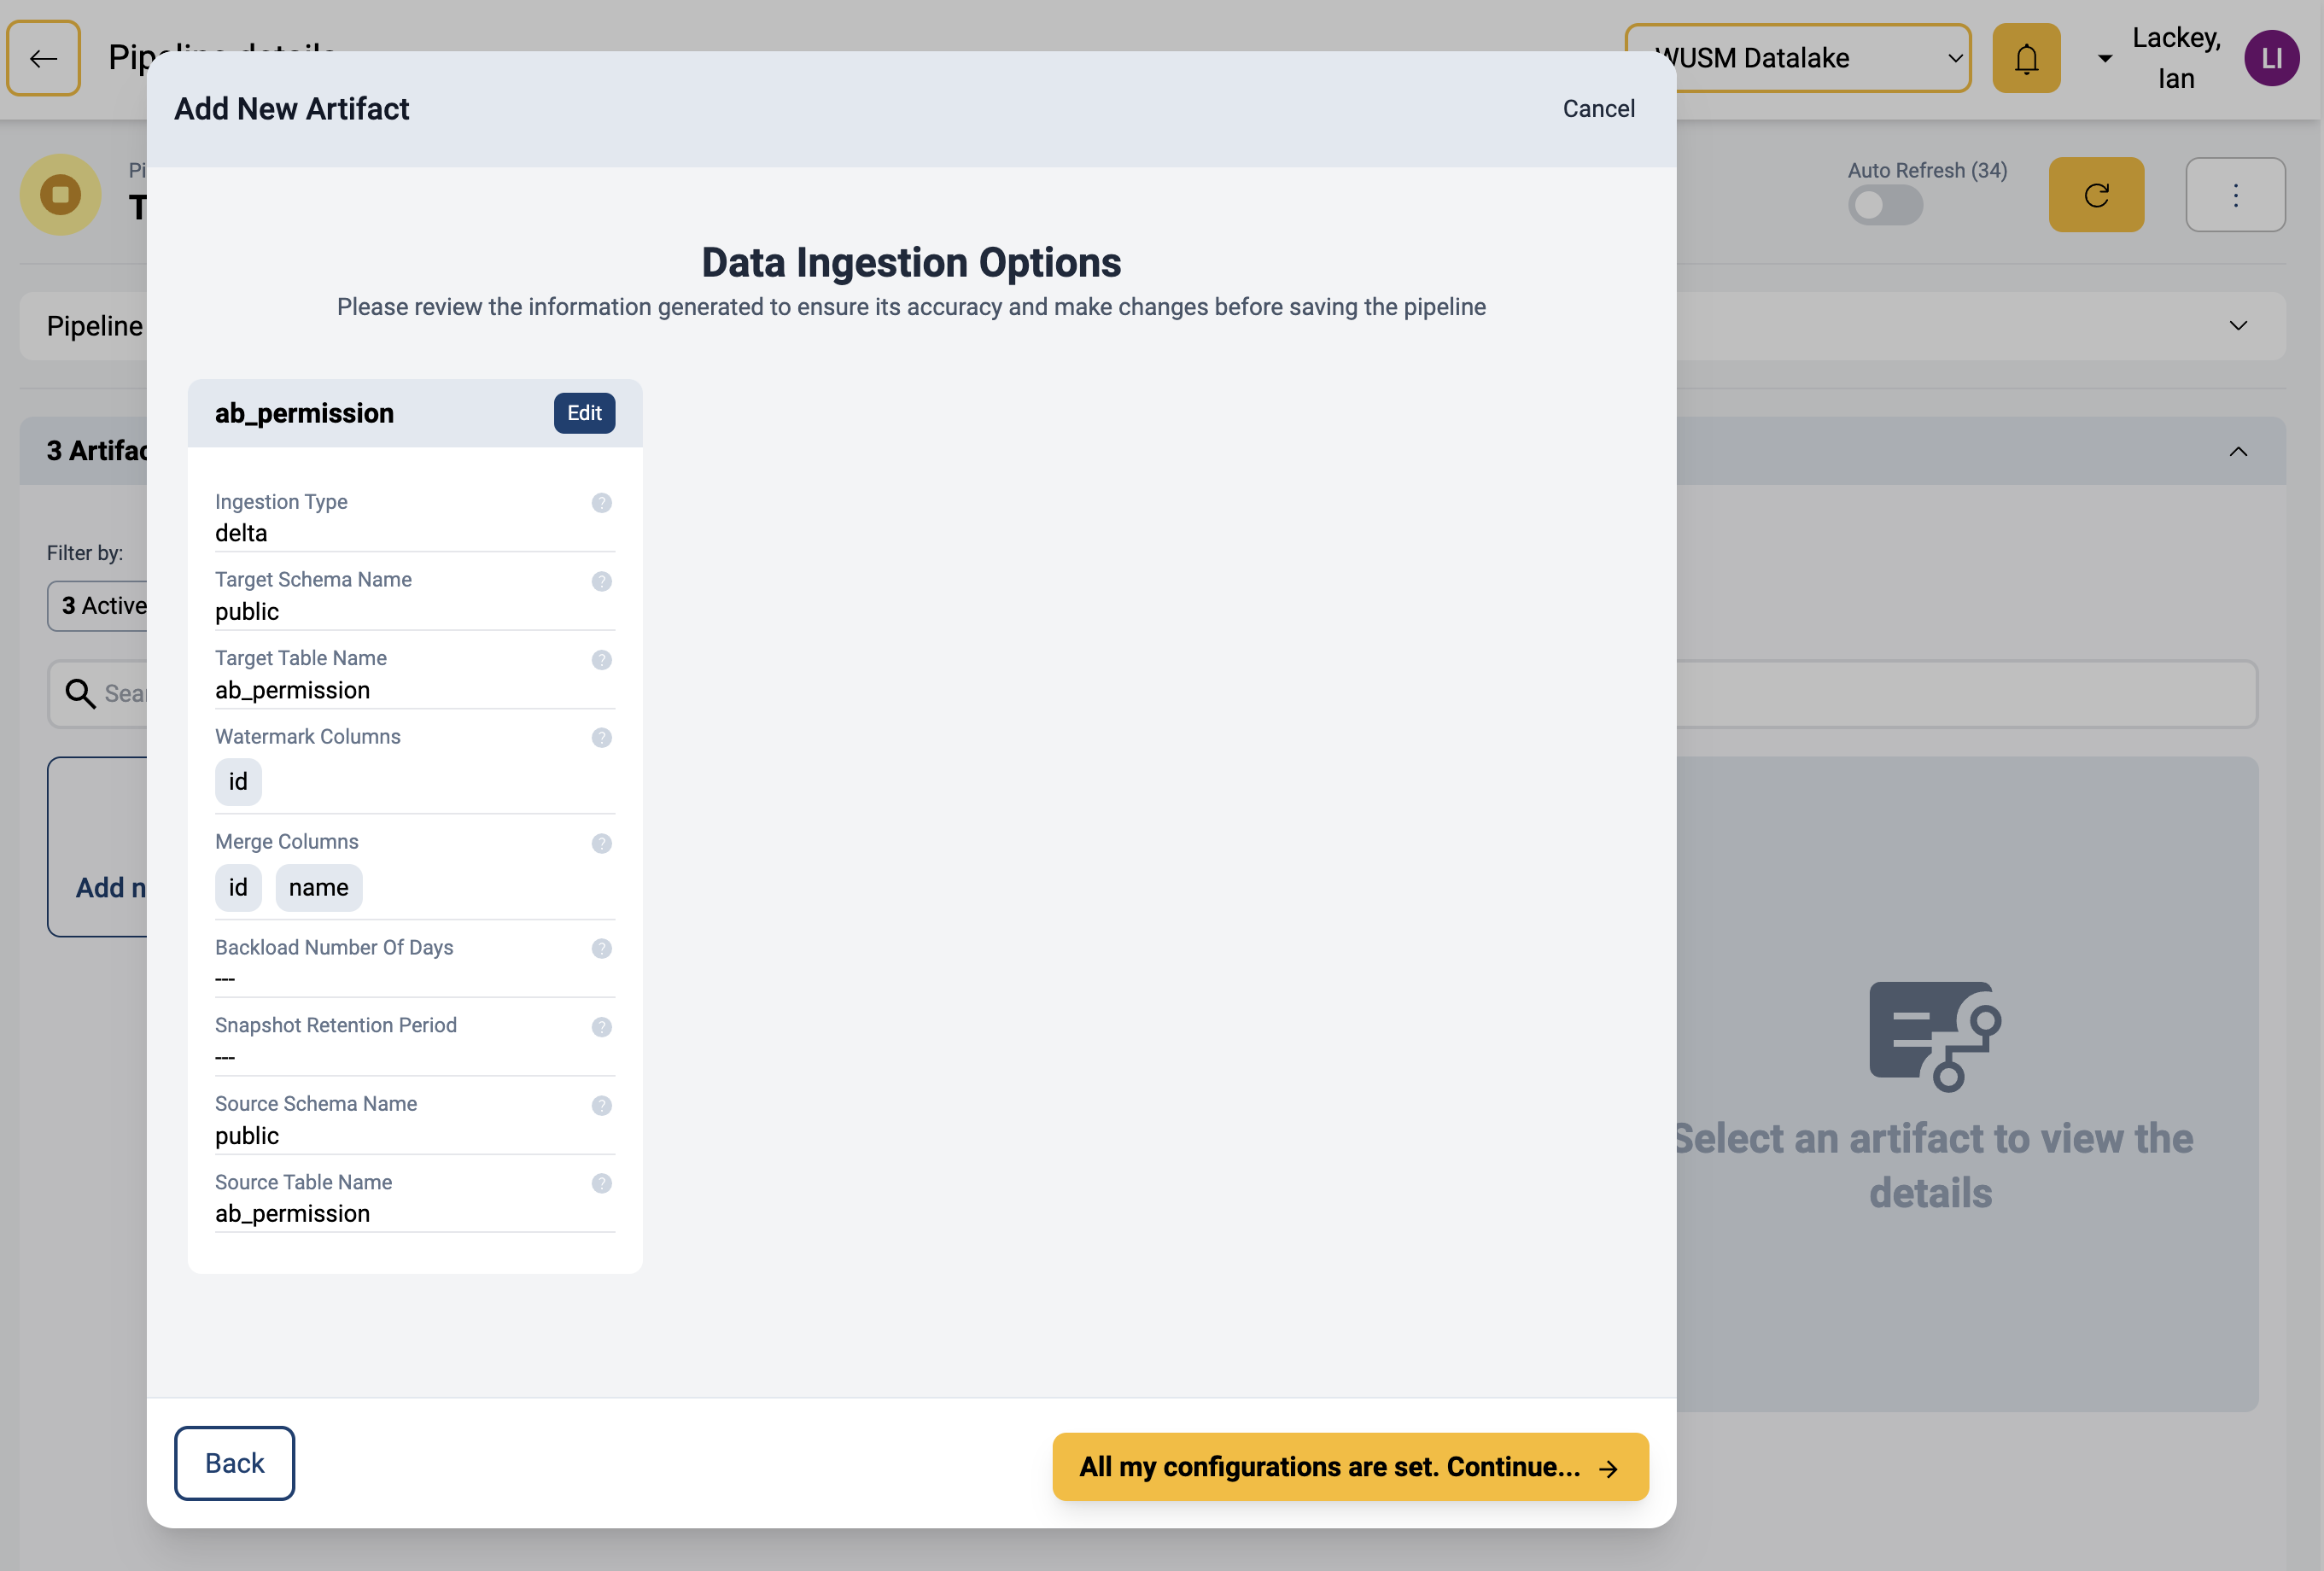
- Data Ingestion Options
1. This screen allows you to modify various details of the ingestion process for each table. We will leave the default settings for this guide. However, additional information can be found in the Managing Ingestion Options document.
2. Once the options are configured, click on theAll my configurations are set. Continue...button.
- Verify Artifact
- The newly selected table(s) should now be listed in the
Artifactsfor the pipeline. - Select an artifact will show the details, allow. you to view logs, and update the item if needed.
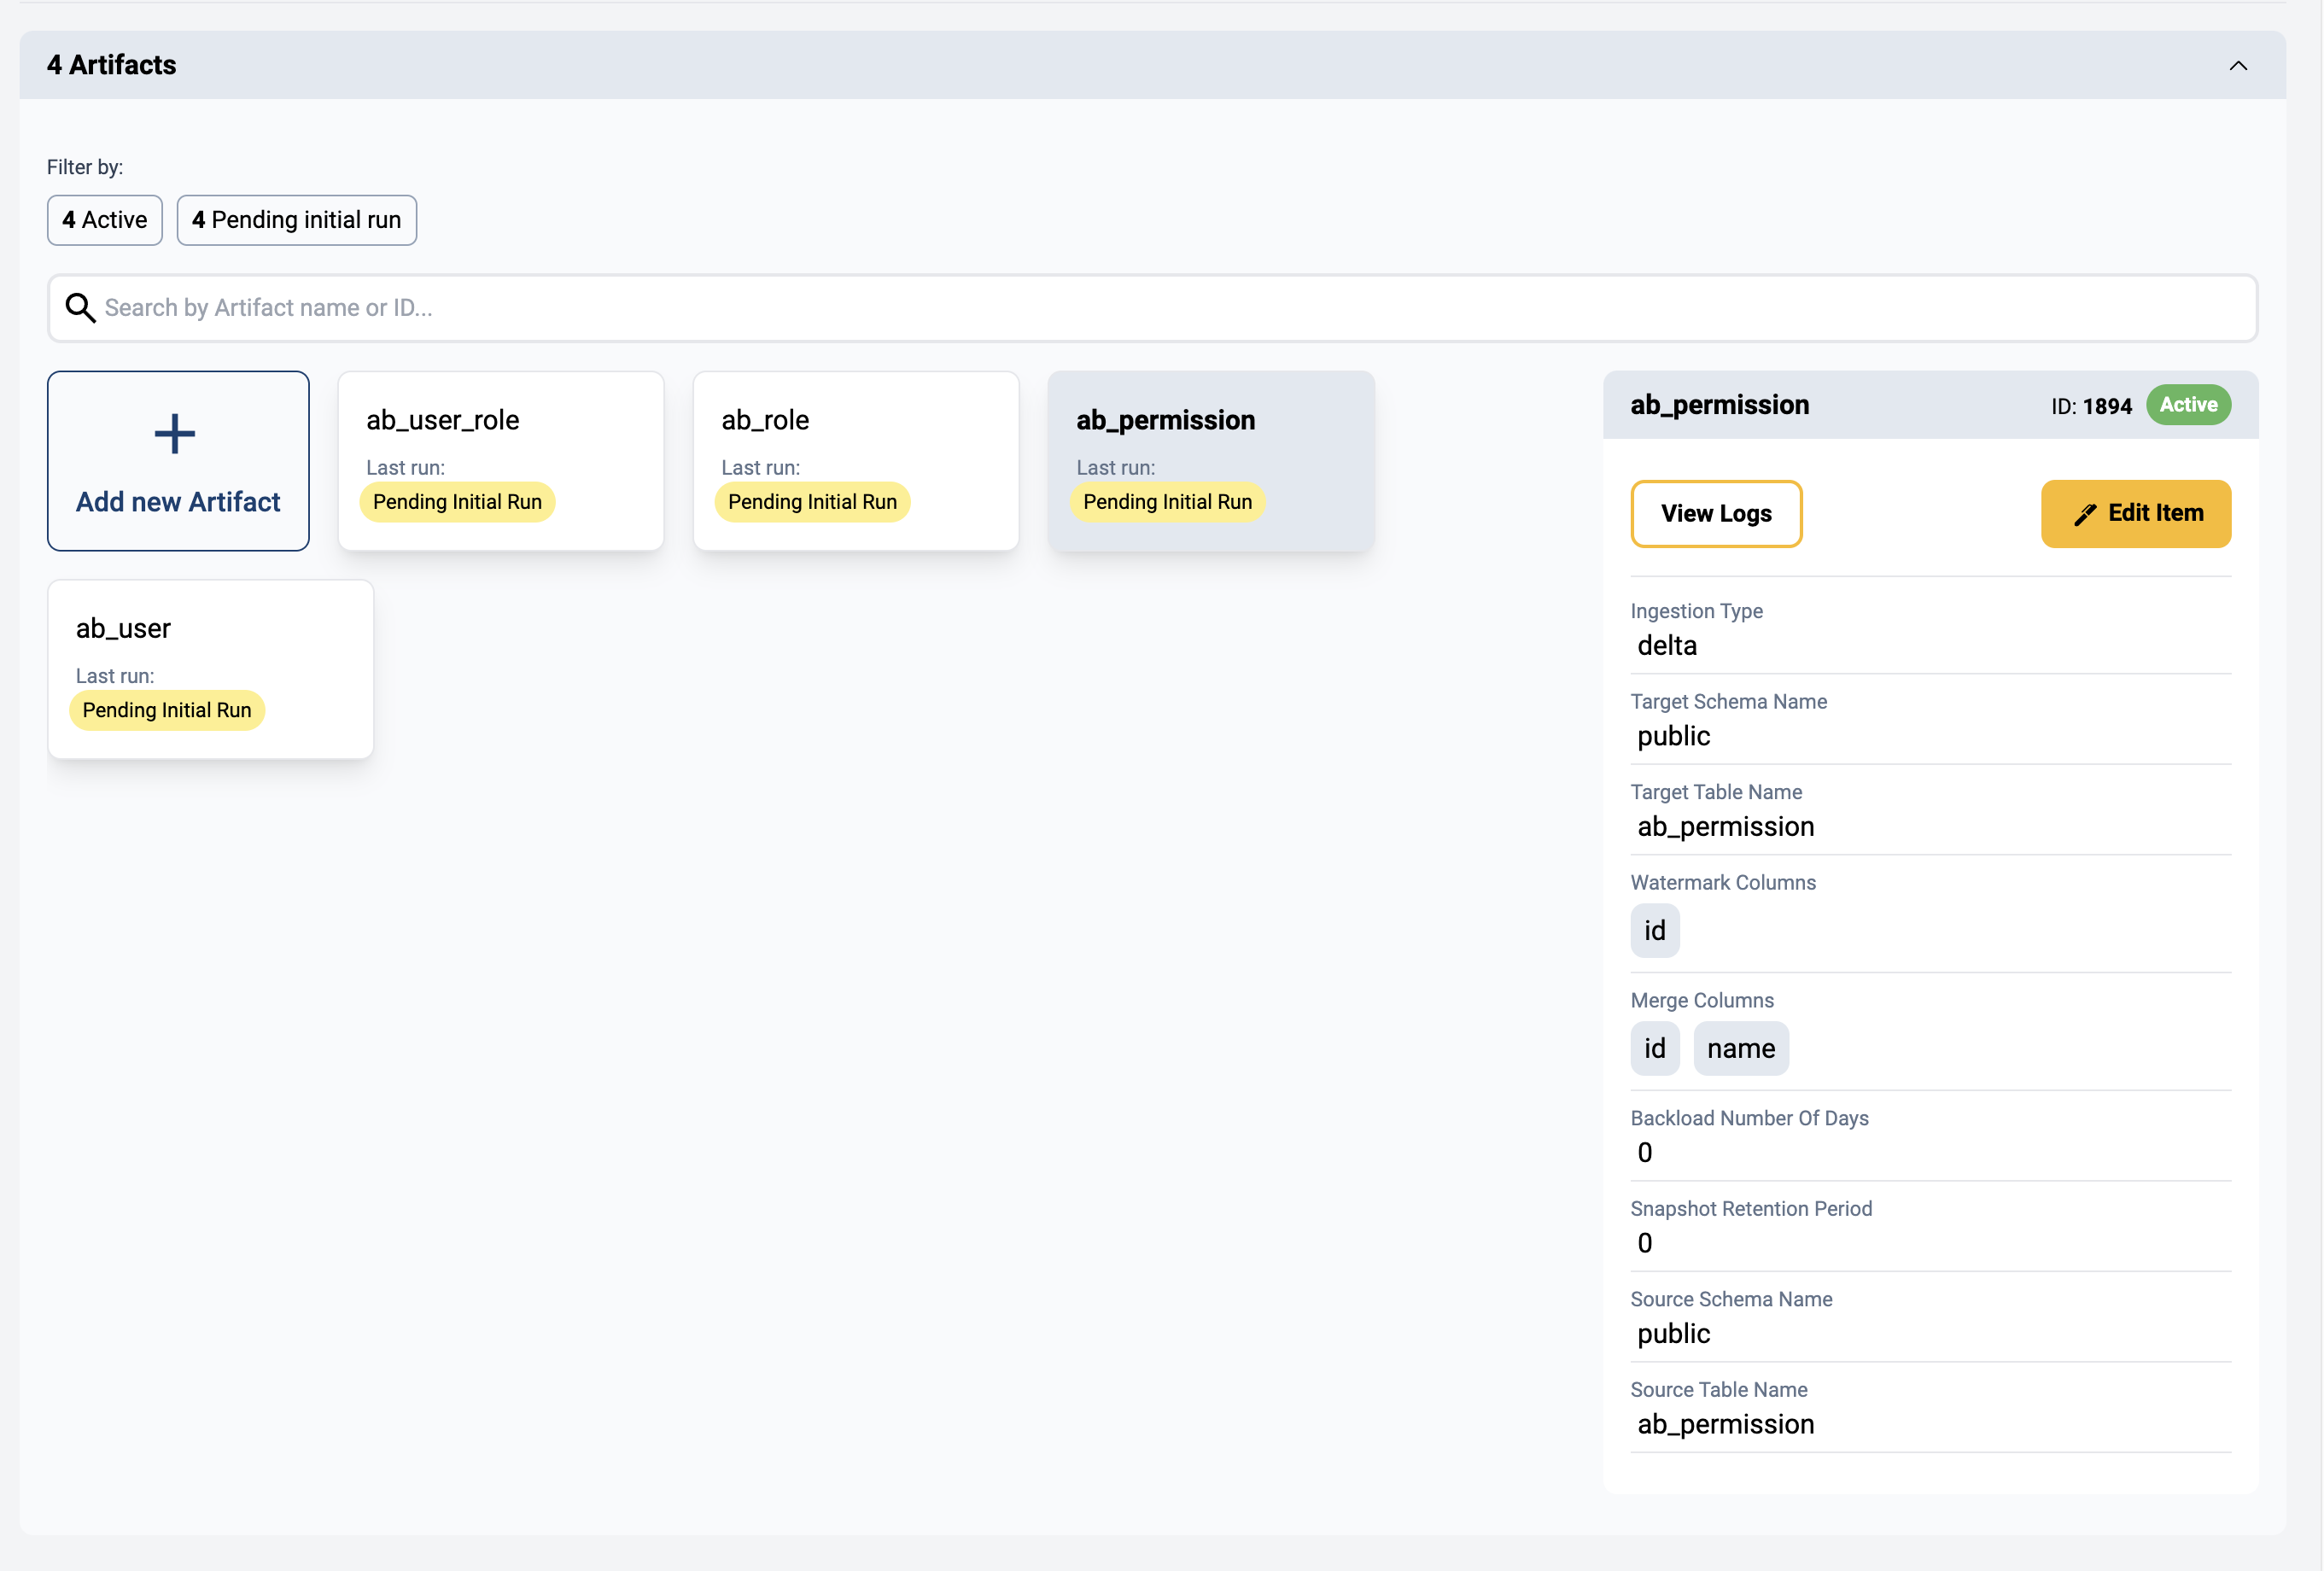
- The newly selected table(s) should now be listed in the