


Databasin (How to create Pipelines)
This guide will show how to create pipelines in databasin.
Creating pipeline
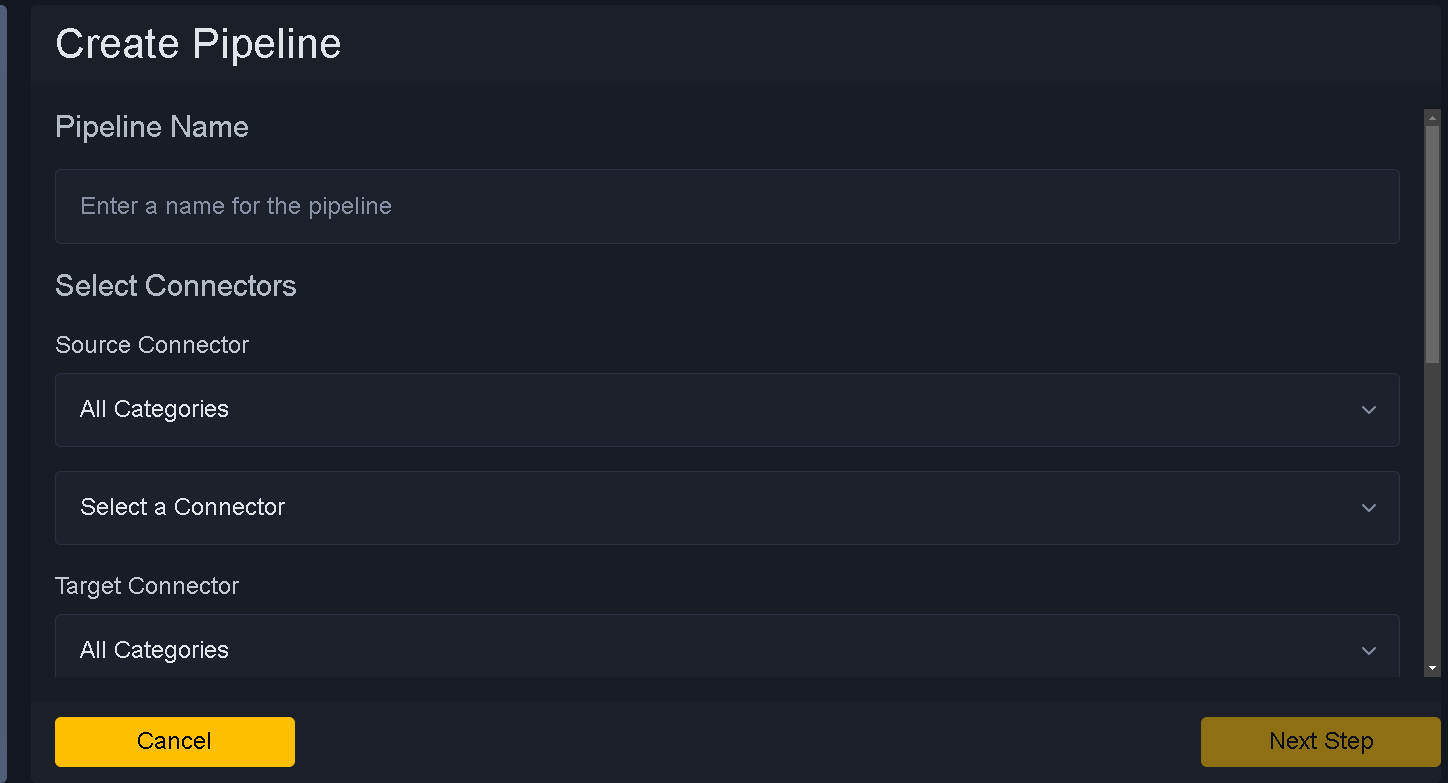
Field Definitions to pay attention to:
Pipeline Name - Name for pipeline
Source Connector - Dropdown to select source for pipeline. Refer how to create connector for more information.
Target Connector - Dropdown to select target connector for pipeline

Target Type - Target type choose between Datalake and Data Warehouse
Target Catalog Name - Target Catalog name if you want to put data into different Catalog. Default is cleansed.
Automatically Create Catalogs - Check if you want to create catalog if not exists.
Naming Convention - Choose short name or long name. Short name are same as source naming convention. Long Names are appended by schemaname.
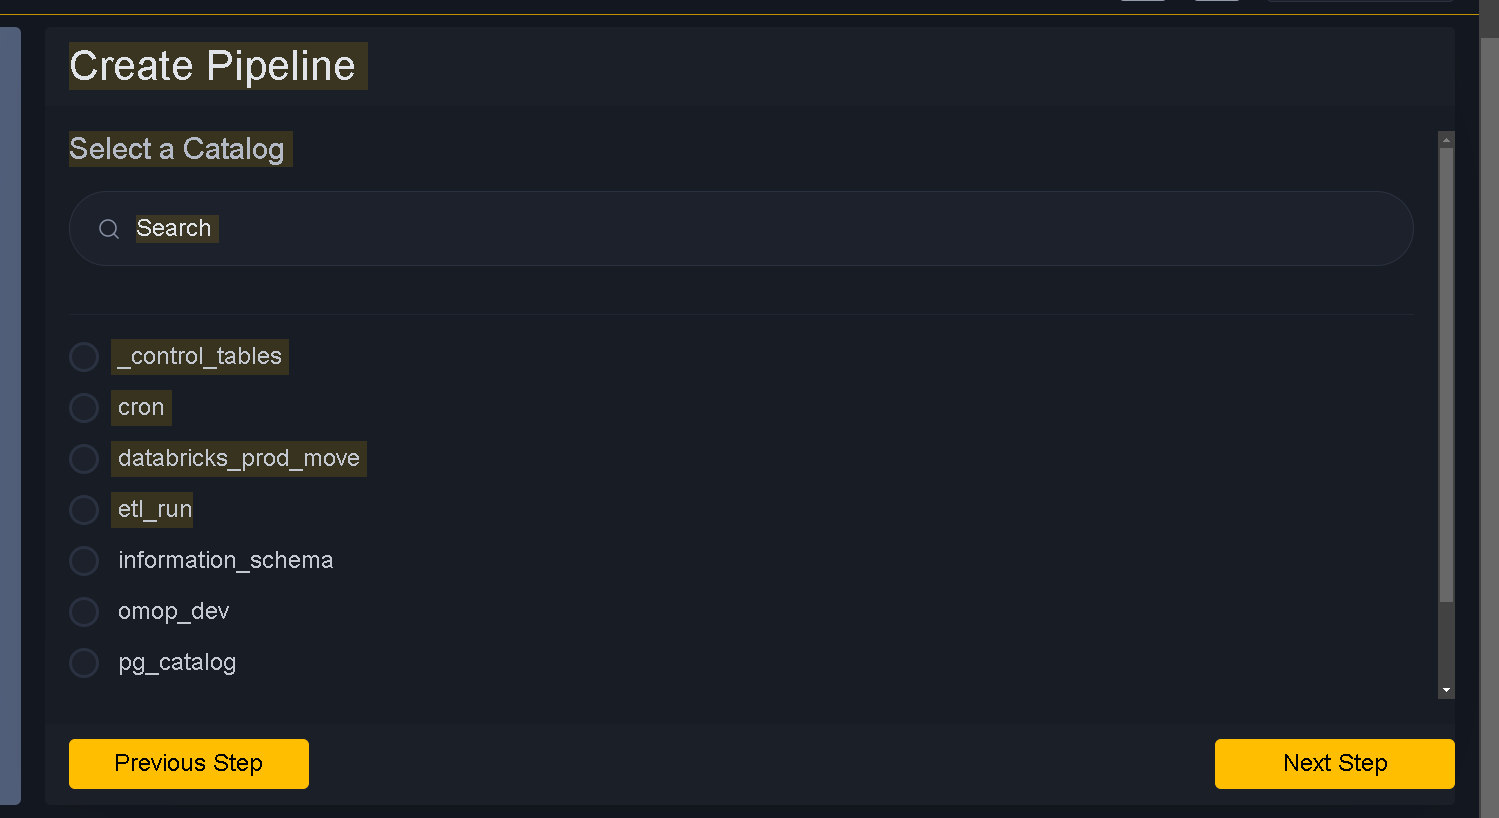
Move to next step. Next step is selecting catalog
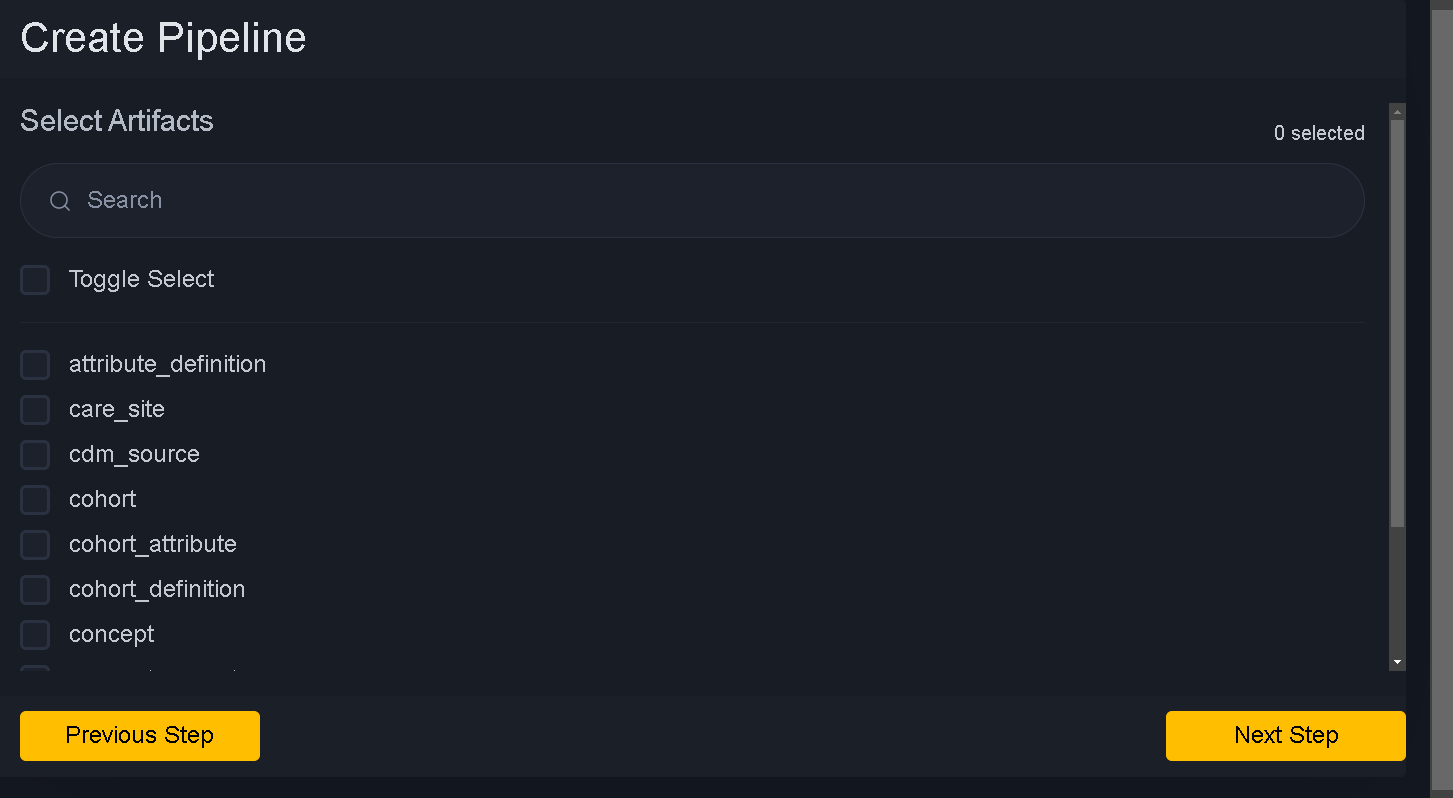
Move to next step. Next step is selecting artifacts
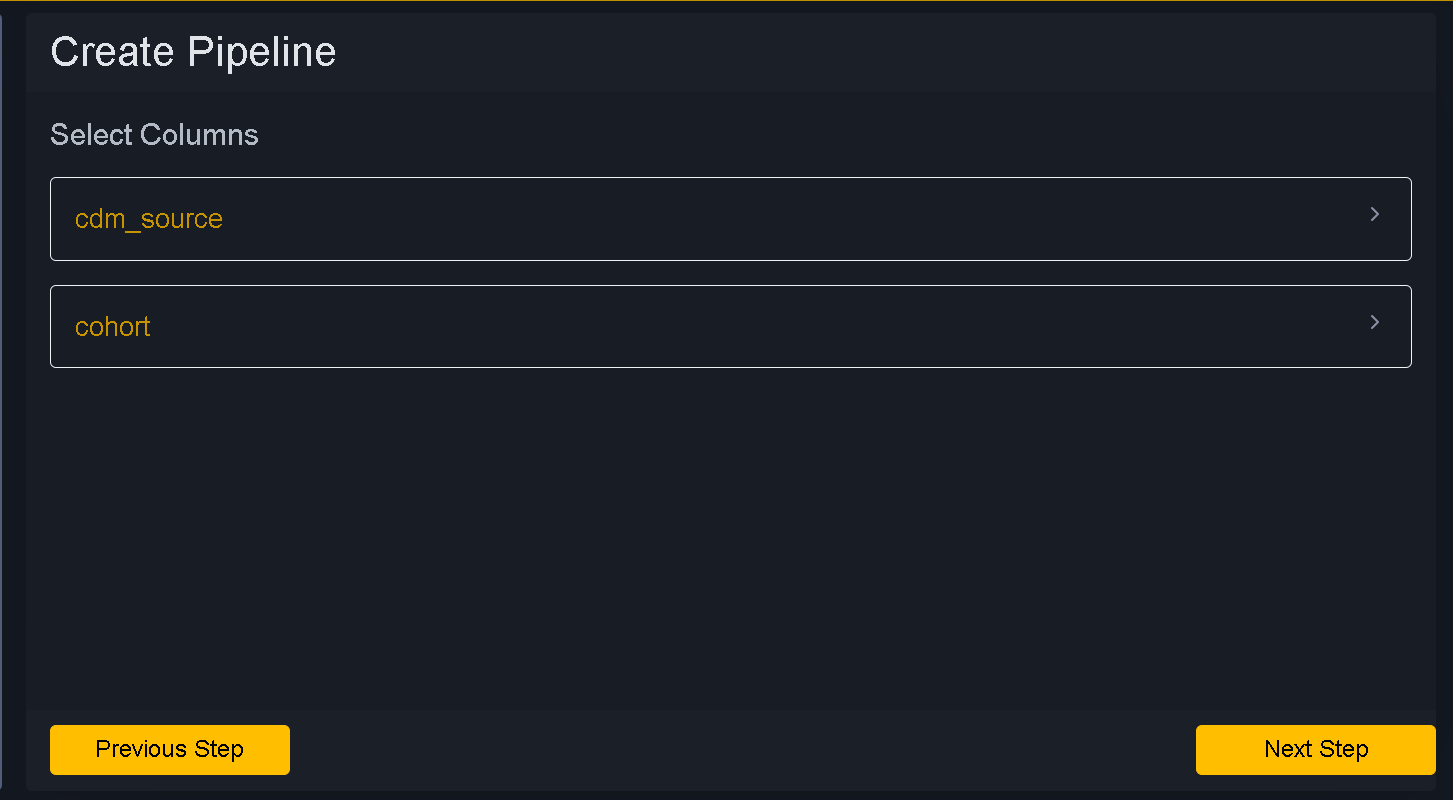
Move to next step. Next step is selecting column
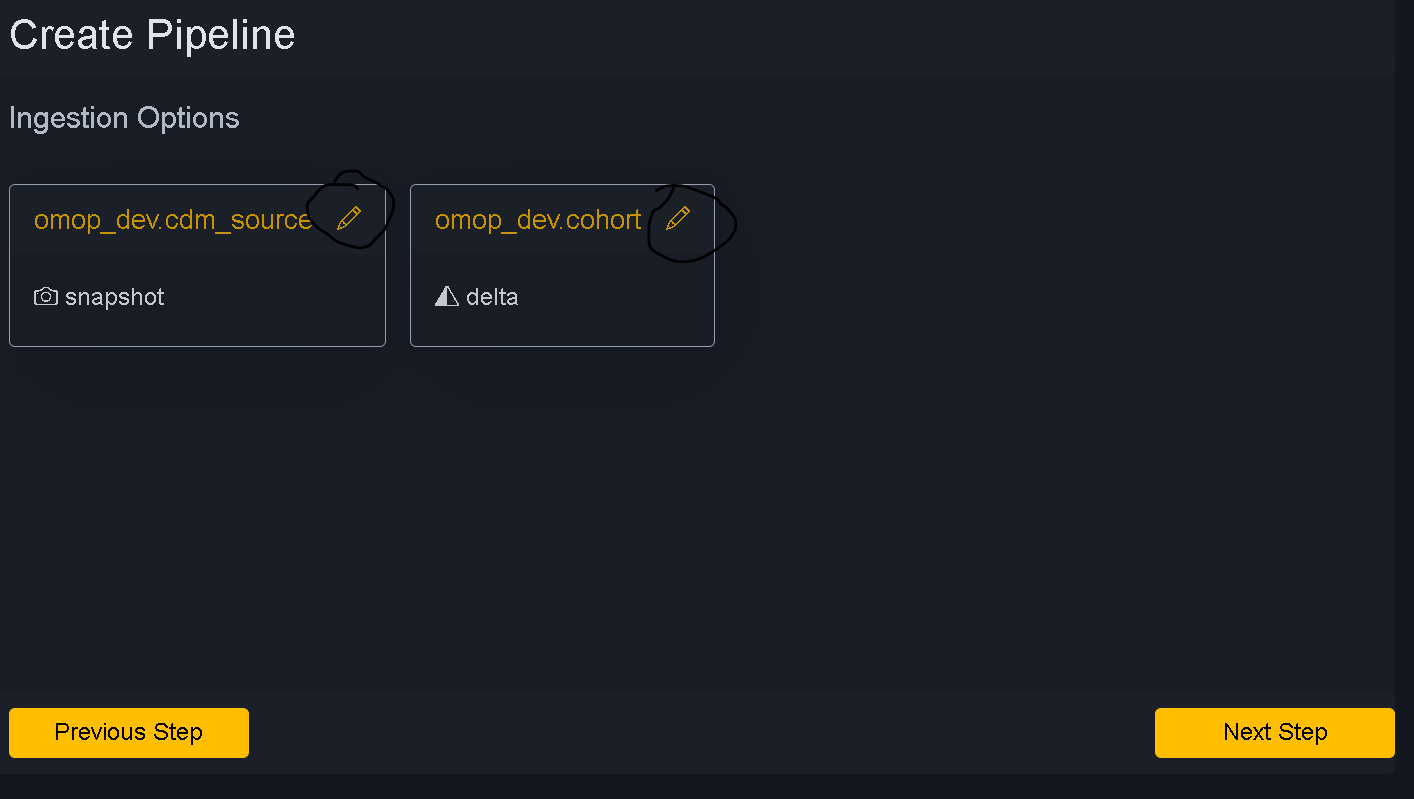
Move to next step. Next step is selecting Ingestion Options
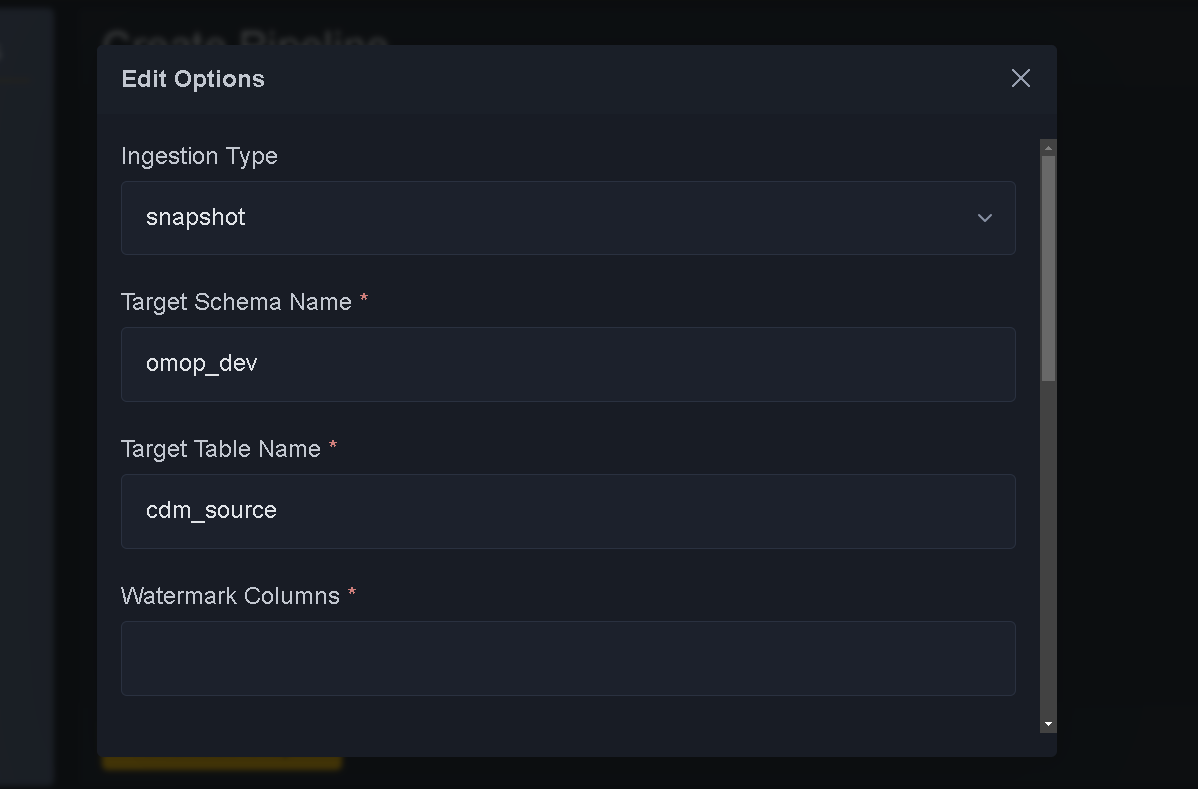
Use pencil sign to edit if you want to make snapshot to delta or vice versa
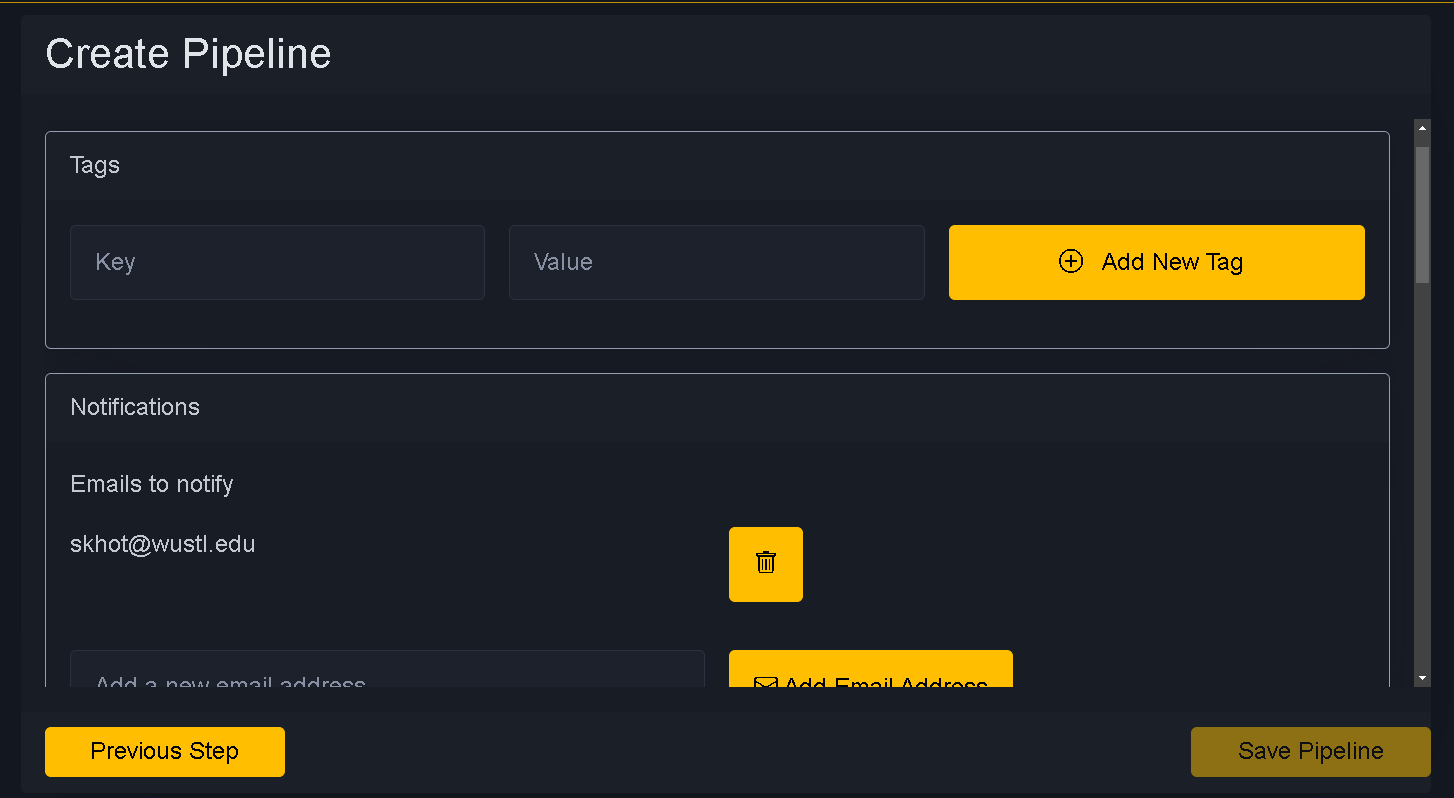
Move to next step. Next step is Finalizing Options
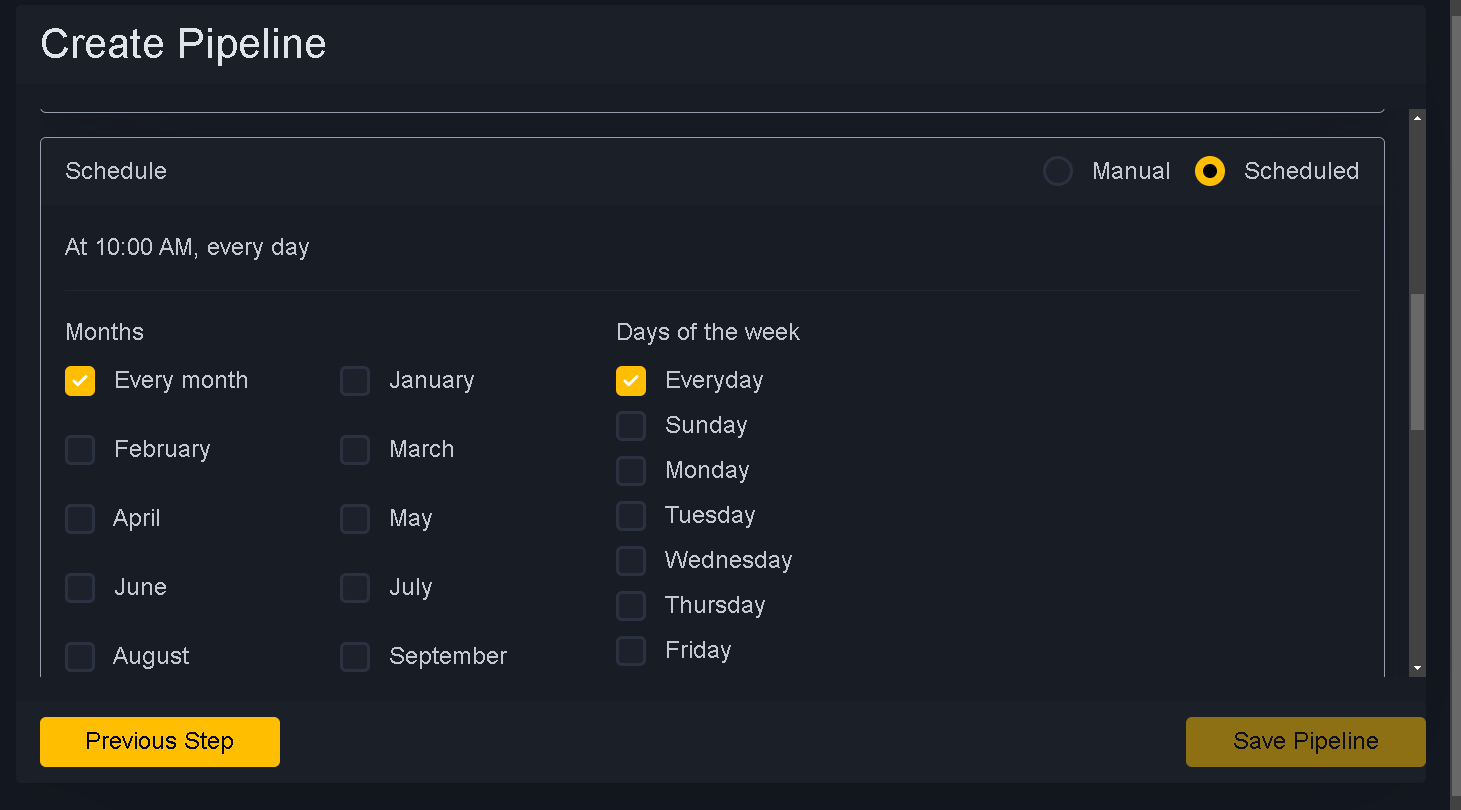
Select schedule, alert and job cluster size
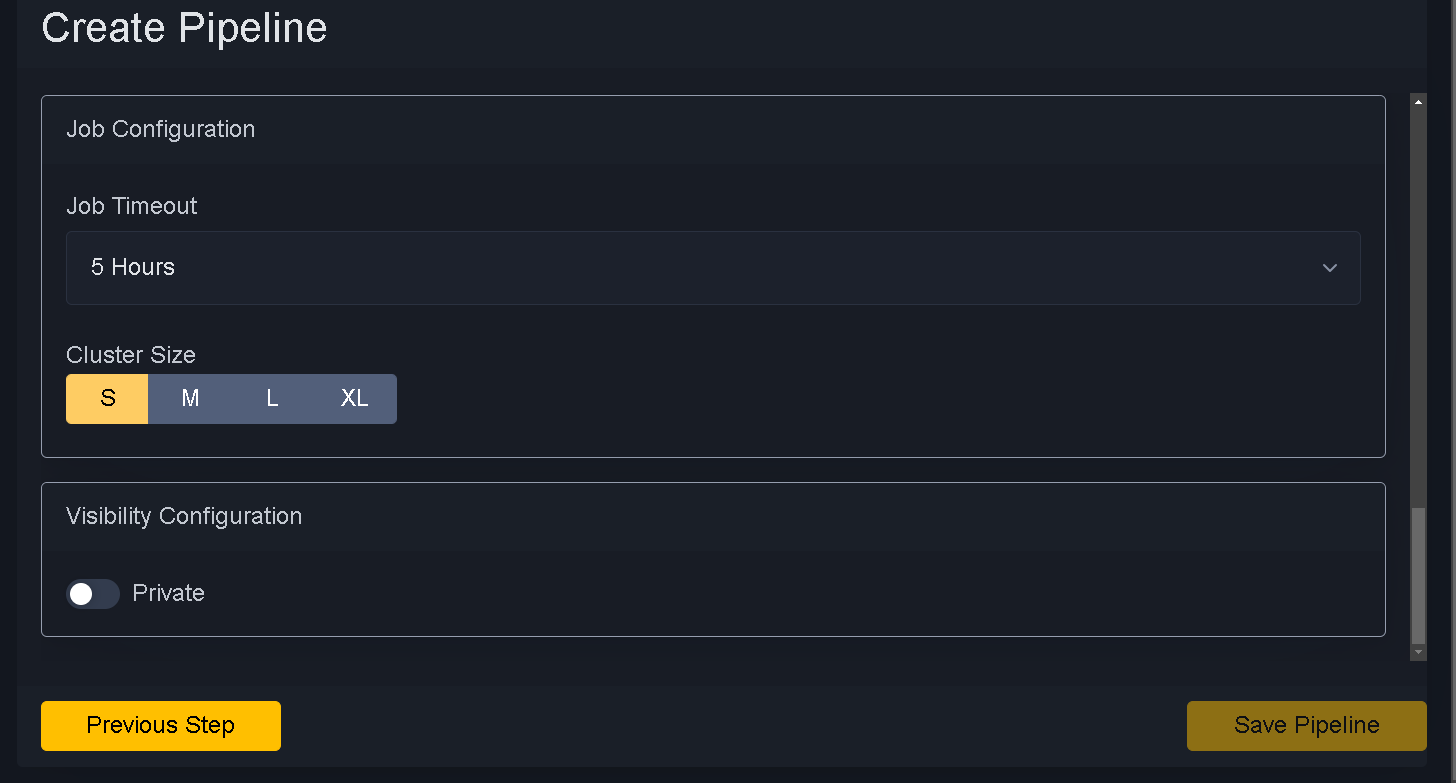
Job Cluster plays important role.
If you know your tables are big then use job cluster size
Following are parameters to select job cluster size
S (small) 8 core 32 Gb
M (Medium) 16 Core 64 Gb
L (Large) 32 Core 128 Gb
XL (Excel) 32 Core 128 Gb
Job Timeout
Job timeout is time azure will kill your job if ran over. So make sure to know how long it will take. Timeout will kill job and potential loss of logs and details.